Most construction projects don’t have a shortage of information. It’s enough and even overwhelming. The real challenge is keeping it all connected. Architects have their drawings, BIM teams manage models, contractors review PDFs, and field engineers add markups from the jobsite.
Things get complicated when an issue needs to move from one of these workflows to another.
If you flag an issue on a PDF, now your BIM coordinator has to go find that exact same spot in Revit. And just like that, you're in a chain of screenshots, emails, and "wait, which wall are we talking about?", all just to get everyone looking at the same problem.
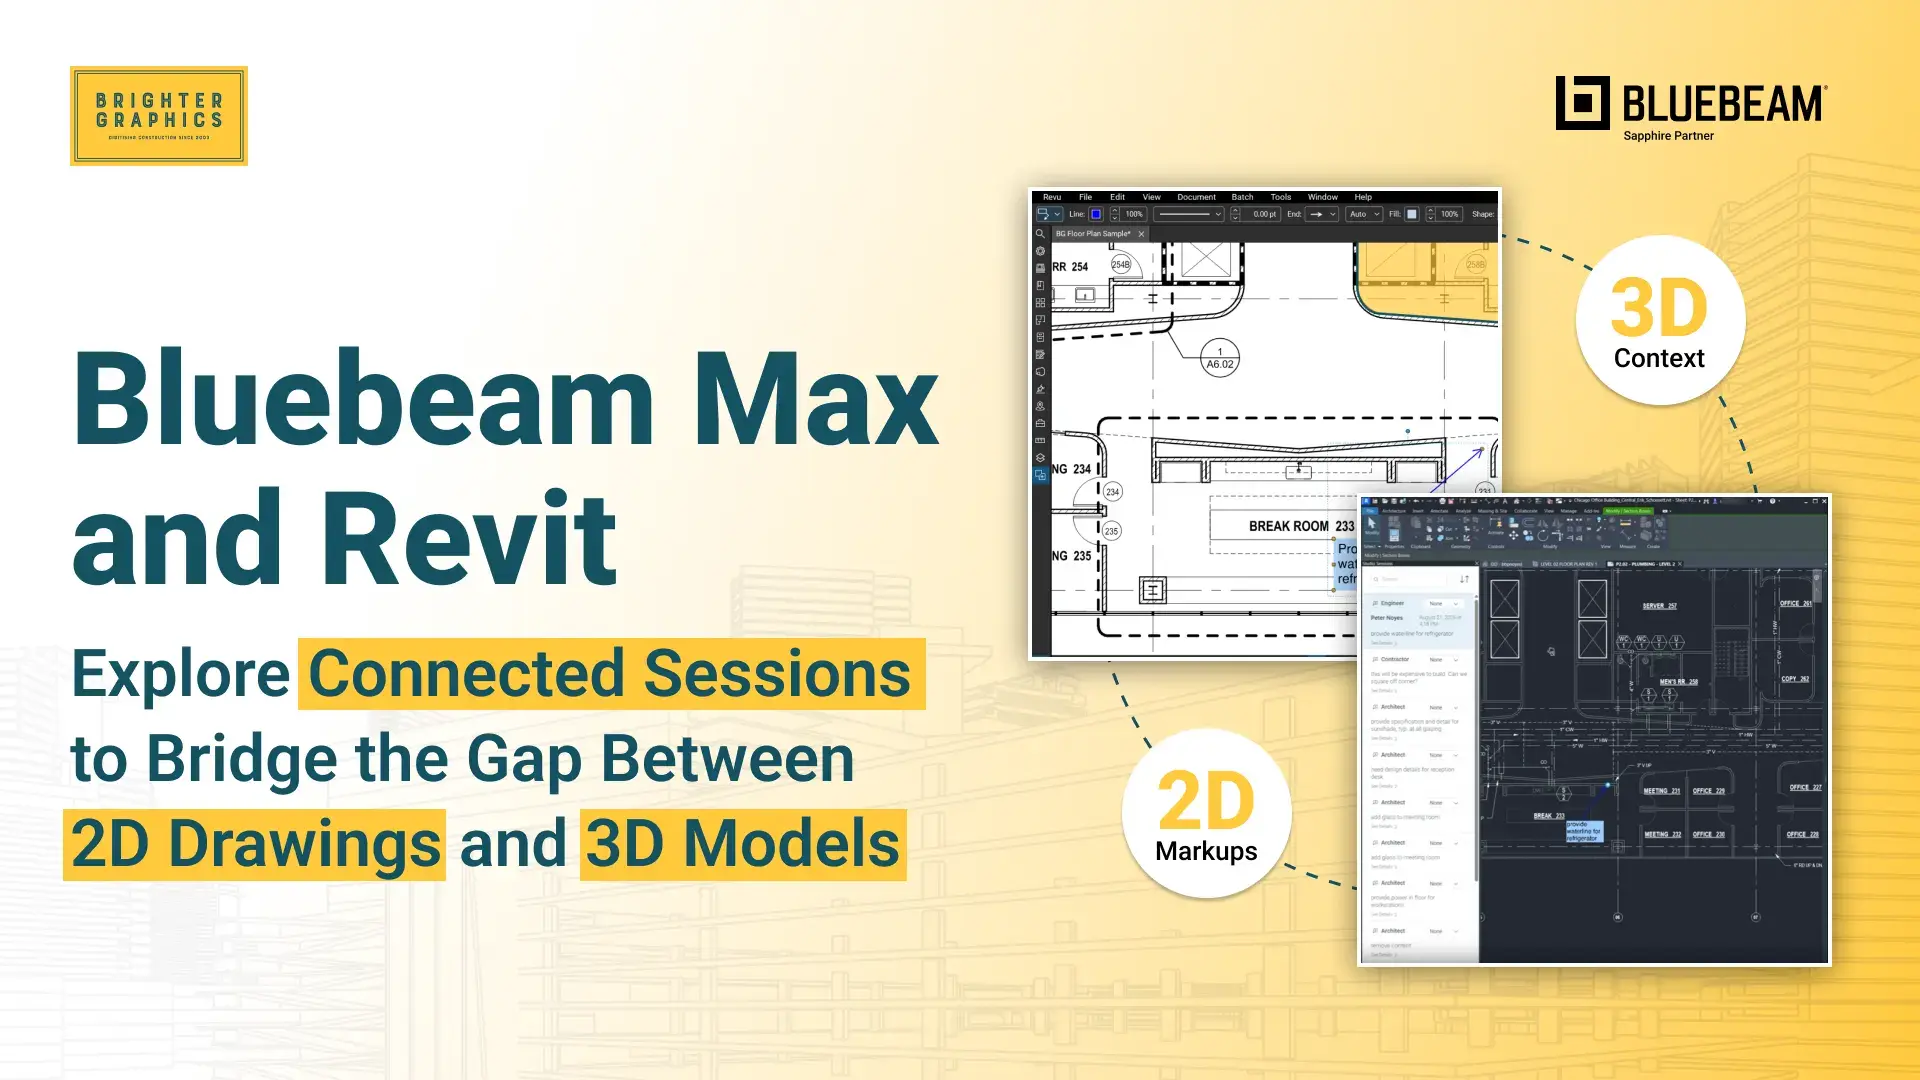
Bluebeam Max aims to shorten that process with Connected Studio Sessions with Revit. The feature links Bluebeam Studio Session markups to the corresponding 2D sheet and 3D model view in Revit, giving teams a clearer path from review to coordination.
You don't need a Bluebeam Max subscription to start, join, or work inside a new Session in Revu. But you need a Max subscription to see real-time markups using Connected Sessions in Revit.
In simple terms:
To see markups from a Studio Session inside Connected Sessions in Revit, you need two things:
- A Revit licence
- A Bluebeam Max subscription
Max is only required for the people who open Connected Sessions in Revit, such as BIM coordinators, designers, or model managers.
Everyone else can work without Max. Team members on other Bluebeam plans can create or join the Studio Session and add markups to the PDF in Bluebeam. They don't need Max or Revit for that.
Max is about the Revit-side viewer, not the whole review team. Budget Max seats for the people who need to see markups in the model, and use your existing Bluebeam plans for everyone else.
If this is kind of your requirement and you're on another Revu product, you can start a 14-day free trial to test Max with your own workflows, every feature unlocked, no restrictions.
Now let’s explore this new feature in detail and see how things work in a connected environment.
Why the Gap Between 2D Drawings and BIM Models Matters
The construction industry has shifted toward digital documentation and BIM, moving away from paper drawings over the years. But fragmented workflows still persist. PDFs are popular for a reason. They’re easy to share, review, print, mark up, and use in the field.
Revit models serve a different purpose. They give BIM and design teams a more complete view of the building, including its structure, systems, equipment, materials, and how everything fits together.
Both formats are useful. The problem is the handoff between them.
A markup may make perfect sense on a PDF, but the BIM coordinator still needs to identify where it belongs on the corresponding drawing sheet and in the 3D view in Revit. The manual translation takes time and creates another opportunity for someone to interpret the issue differently.
Connected Sessions won’t prevent every kind of rework, but it can help keep important project details from getting lost between drawings, models, and teams.
What Are Connected Sessions?
Connected Studio Sessions with Revit is a Bluebeam Max feature that brings Studio Session markups and comments into Revit.
Once a Session is connected, BIM users can view the markups on the relevant 2D sheet and in a 3D model view without leaving Revit.
The basic connection looks like this:
Bluebeam PDF → Studio Session → Markup → Revit sheet → Revit 3D view
This is more useful than simply opening a PDF next to a model. The Bluebeam Revit plugin embeds metadata in the PDF, while viewports connect markups to their model context. That allows the same issue raised during a PDF review to appear where it matters inside Revit.
Studio Sessions remain the collaboration layer. You can add participants to your Studio Sessions (participants can join to collaborate with or without a Max subscription) to add markups, comments, statuses, and review information to a shared document.
How the Connected Sessions Work in Revit and Revit
The value of Bluebeam x BIM workflows is easiest to see in the process itself. Follow the steps below in order, because the Revit connection depends on setup decisions made in Steps 1 and 2.
Step 01 - Setting Up Revu and Revit to Prepare a PDF
Create the drawing sheet PDFs with the Bluebeam Add-in for Revit (Add-Ins tab). The add-in embeds the viewport and metadata that Connected Sessions relies on. A PDF made through any other print or export method won't work with the integration (read step 2 for more details on viewports).
- Make sure you have a Bluebeam Max subscription and are using Revu 21.9 or later to access the updated Plugin for Connected Sessions. Manage it through the Bluebeam Administrator tool.
.webp?width=1920&height=1080&name=Connected-Studio-Sessions-Bluebeam-Max-Revit%20(2).webp)
- In Revit, open the sheets and click Change Settings under the Add-ins menu. A Bluebeam Conversion Settings dialog box will appear. Under the General Settings tab, enable the Open Studio Sessions option if it isn't already (it will automatically open the Create Session dialog when you load a Revit-exported PDF in Bluebeam Revu).
- Go to the Page Setup tab, switch it to Custom, and configure your Bluebeam selections.
.webp?width=1920&height=1080&name=Connected-Studio-Sessions-Bluebeam-Max-Revit%20(3).webp)
- You can create the file from the same dialog box using the Create File button at the bottom left. Or save the settings by clicking OK and click the Create File option directly from the Bluebeam Add-in menu. Either works as long as Start Studio Session is selected.
.webp?width=1920&height=1080&name=Connected-Studio-Sessions-Bluebeam-Max-Revit%20(4).webp)
- Save the PDF when prompted. Open your saved PDF in Revu, and the session creation dialog will appear automatically. There, name the session and set options such as restricted emails and an expiration date (see step 3 for more details).
Note: Starting the Studio Session directly from the Revit PDF export is the most reliable setup. It creates the viewport automatically from the view's crop region. Connecting a session that wasn't created this way often fails, so use a PDF produced by the add-in in Revit.
Step 02 - Check the viewports in Revu
You can't connect a Revit view to a Revu drawing directly. The link works through viewports; without them, the setup fails.
A viewport is a defined region on a PDF page, with its own scale and precision, set in the Measurement tab in Revu. One PDF can hold several viewports at different scales, so the same line, area, or volume measures differently in each.
In our workflow, the viewport is created automatically from the view's crop region in Revit. It records where the view sits on the sheet, and that location is what aligns session markups with the Revit plan.
- Open the PDF in Revu, go to the Measurements panel, and confirm the viewport boundary is present.
- Place all markups inside the viewport boundary. Markups outside it won't appear in Revit.
- Don't create, delete, move, or resize the exported viewport. Leave the Revit default exactly as exported.
.webp?width=1920&height=1080&name=Connected-Studio-Sessions-Bluebeam-Max-Revit%20(5).webp)
Note: In Revit, the crop region must be turned on (visible) in the view the first time you load the session. If it's hidden, Revit can't align the markups. After the first successful connection, this is no longer a concern.
Step 03 - Work in the Studio Session
Follow the instructions to create a Studio Session when prompted in Revu.
.webp?width=1920&height=1080&name=Connected-Studio-Sessions-Bluebeam-Max-Revit%20(6).webp)
Studio Sessions autosave, so no manual saving is needed. Invite team members to join. Several people can mark up the same PDF at the same time. They can review the drawing, add comments, create markups, and update statuses.
- Confirm you are working in the PDF that was added to the session, not the local copy created during export. Marking up the wrong file means nothing reaches Revit.
- If markups were made on the wrong file, copy them, open the session PDF, and use Paste in Place. This aligns them exactly to the same position in the viewport.
- Remind collaborators to stay inside the viewport. They can see a preview of it, but viewports can't be created within a session.
- Not every team member needs a Bluebeam Max subscription. Attendees with other Bluebeam subscriptions can join, collaborate, and mark up the PDF.
Note: Adding the prepared PDF to an existing session is possible in principle. In practice, the PDF must have been created with the add-in and must retain its viewport; otherwise, it fails. Starting a new session from the Revit export (Step 1) avoids this.
Step 04 - Connect the Session to Revit
- In Revit, go to the Add-Ins tab, open the Bluebeam add-in, and click Connected Sessions.
- Sign in with your Bluebeam ID.
- If the session isn't listed, especially if Revit was already open when you created it, click the Refresh button in the upper right.
- Select the relevant session and document.
.webp?width=1920&height=1080&name=Connected-Studio-Sessions-Bluebeam-Max-Revit%20(7).webp)
Note: The connection is cloud-based, and only one connection can be active per user and machine. Joining the same session in the Revu desktop app disconnects the Revit connection. Bluebeam also limits the same Bluebeam ID from signing in to a Studio Session in Revu and Connected Sessions in Revit at the same time.
Step 05 - Review the markups in 2D and 3D
The BIM coordinator can view the markups on the corresponding sheet in Revit, then switch to the 3D model for more context.
- Click Refresh in the add-in to pull in markups added since you connected.
- Open a markup to see its details (comments, status, and so on), as you would in Revu's Markups list.
- Review the markup in the plan, then move to the 3D view to check the surrounding geometry.
This is where the integration pays off. The coordinator isn't working from an isolated screenshot or describing a location over email. The issue is visible next to the surrounding model geometry. The same markups appear in Revit and Bluebeam Studio Session, so everyone works from one source.
Step 06 - Respond and track the issue
The BIM or design team investigates the issue, discusses the response, and updates the model or documentation when needed.
- Update the markup's status (for example, mark it completed) in Revit once it's resolved. Comments and statuses can be updated there.
- Other participants see the change in Revu Studio or Bluebeam Cloud, since it's the same session. Refresh to see new activity in Revit.
Now you can keep all discussion and status changes in the session so the markup stays part of a shared review process instead of disappearing into an inbox.
Setup and Licensing Requirements
Connected Sessions isn't a one-click feature that works with any PDF. Teams need a supported Revit version, a Bluebeam Max subscription for a supported Bluebeam x Revit plugin for the connection, correctly prepared PDFs, and the right licensing for the people who view markups in Revit.
Revit and the Bluebeam Plugin
You need Revit installed with a valid license. Bluebeam supports recent Revit releases, including 2025 and 2026. The newer releases, such as 2027, are supported through updated plugins, so install the plugin update that matches your Revit version.
Compatibility changes over time, so check Bluebeam's latest guidance before deploying across a team.
Correctly Prepared PDFs
Create the PDF through the Bluebeam plugin from Revit sheets. That export is what creates the viewports, which tie Session markups to the model. Those viewports must stay intact, meaning they haven't been moved, resized, or deleted. Markups only appear in Revit if they're placed inside a viewport.
This makes a consistent PDF publishing process important. If different people generate drawing sets differently, the connected workflow may become unreliable. Agree on who publishes the connected PDFs and how, and tell reviewers not to edit the viewports.
Bluebeam Max and Revit Subscription Requirements
The person who originates the connection and views real-time markups inside Revit needs both a valid Revit license and a Bluebeam Max subscription. They sign in to Connected Sessions with their Bluebeam ID. The same Bluebeam ID can't be signed in to a Studio Session in Revu and Connected Sessions in Revit at the same time, so plan for that when one person does both jobs.
You can't be signed in to both Studio Sessions in Revu and Connected Sessions in Revit at the same time.
If you just want to create a session and invite participants, you don't need Max. You can create and join the Studio Session, invite team members, add markups, and collaborate in Studio Sessions. But to see real-time markups using Connected Sessions in Revit, you need a Max subscription.
In simple terms: Max is about the Revit-side viewer, not the whole review team. You can budget Max seats for the people who need to see markups in the model (inside Revit), and use your existing Bluebeam plans for everyone else.
Benefits Over a Traditional Coordination Process
The notable difference with this integration is that fewer people have to recreate, translate, or search for the same information. These benefits depend on the setup described earlier: a plugin-generated PDF, intact viewports, and the right licensing for the people viewing markups in Revit.
Screenshots, PDF attachments, revision notes, and long email threads can all separate an issue from its context. In a traditional process, someone captures the problem on a sheet, describes where it is, sends it on, and someone else has to find the same spot in the model.
A shared Session keeps the markup, comments, and status together. Because viewports tie each markup to its sheet, the markup appears on the matching Revit sheet without anyone describing its location. Collaborators can mark up in Revu or Bluebeam on the web, and everything lands in the same Session. That gives the team one source of review comments rather than several copies.
When a coordinator can move directly from a 2D markup to the related Revit context, they spend less time locating the issue. Selecting a markup in the Connected Sessions panel opens the sheet that contains it and displays the markup there, so there's no need to search through files or ask the author where it is. From there, the coordinator can check the surrounding 2D sheet and 3D model without leaving Revit.
That can shorten the gap between identifying a problem and deciding what to do about it. Markups added during the Session also reach Revit as reviewers work, so the coordinator doesn't have to wait for a revised PDF or a new email.
Studio Sessions keep a Session Record, a chronological history of Session activity. It includes markups, comments, and chat messages, and each entry links back to the part of the PDF it relates to. Teams can see who raised an issue, what was discussed, and how it progressed. On complex projects where several disciplines contribute to the same decision, that record helps explain why a change was made.
Keep two limits in mind:
- First, the full record lives in the Studio Session. In Revit, you see the markups, comments, and statuses.
- Second, finishing a Session removes its documents from the Studio server, so create the Session report and save the documents before you finish if you need a permanent record.
Generating the report requires the right permissions, such as being the Session host or having a Core, Complete, or Max plan with full control.
A connected workflow makes it easier to see where an issue stands. Reviewers can add comments and update statuses from Revit, Revu, or Bluebeam on the web, and the changes appear in the same Session. Teams can follow an issue from identification and review through to resolution, instead of piecing together updates from different inboxes and file versions.
The tool shows an issue's status, but it doesn't decide who owns it. Agree in advance who responds in Revit, who updates statuses, and how issues are closed. If you need formal assignment, due dates, or a compliance-grade audit trail, use a dedicated issue-management system alongside Connected Sessions.
What Connected Sessions Don't Solve
Connected Sessions is a useful link between 2D review and the Revit model, but it isn't a complete BIM coordination platform and shouldn't be treated as one. Its job is to put markups from a Studio Session in front of the people who own the model. Everything else in the coordination process still happens outside it.
It doesn't replace coordination tools or judgment
Connected Sessions does not automatically detect or resolve clashes. It also doesn't replace formal issue-management systems or model coordination workflows. A markup is a human observation placed on a sheet. Someone still has to decide whether it is a real issue, who is responsible, and what the fix should be.
It depends on the quality of the underlying information
- The model must be reliable. If the Revit model is incomplete or outdated, viewing a markup in 3D won't make it trustworthy. The integration shows where a comment was placed, not whether the surrounding model is correct.
- The PDF must be created correctly. The PDF has to be produced with the Bluebeam add-in for Revit, ideally by starting the Studio Session directly from the export. A PDF made through any other print or export method won't carry the metadata the integration needs.
- The viewports must stay intact. The viewport links a session to the Revit view and is generated from the view's crop region. If someone deletes, moves, or resizes it, the markups may not appear in Revit at all. Markups placed outside the viewport boundary will not appear either.
- The crop region has to be on at first connection. If it is hidden the first time the session loads in Revit, alignment fails. This is an easy mistake for new users to make and a hard one to diagnose.
There are also some key technical aspects to keep in mind:
- One connection at a time. The link is cloud-based. Joining the session in the Revu desktop app disconnects the Revit connection, and the same Bluebeam ID can't be signed in to a Studio Session in Revu and Connected Sessions in Revit simultaneously.
- Markups can land in the wrong file. It is easy to mark up the local export copy instead of the PDF that was added to the session, and those markups never reach Revit.
The feature is new and yet to be discovered and tested. So clear ownership is required to avoid conflicts.
Users need to understand both the Bluebeam review process (sessions, viewports, markup statuses) and the Revit workflow (sheets, views, crop regions, add-ins). Because the setup is sensitive, teams should agree on responsibilities before starting:
- Who creates the connected PDFs, and how, so everyone uses the add-in export and leaves the viewports untouched
- Who creates and manages the Sessions, including invitations, restrictions, and expiration
- Who responds in Revit, and who updates statuses
- How issues are closed, and where the formal record lives if a separate issue-management system is used
Licensing needs planning
The whole review team doesn't need Bluebeam Max. Attendees with other Bluebeam subscriptions can join the Session and mark up the PDF. Organisations still need to identify which users require the model-connected view in Revit, meaning the people who will open and use Connected Sessions (Add-in) in Revit, and budget for those seats accordingly.
Connect with Brighter Graphics, and our team will be happy to guide you regarding onboarding, provisioning, and licensing requirements.
Connected Sessions - From Bluebeam, For Revit
Connected Sessions gives a markup an address. A comment made on a PDF in Bluebeam shows up on the right Revit sheet, so nobody has to explain where it is, and your coordinator can check it against the 3D model without leaving Revit.
It works best when the basics are in place: PDFs published with the Bluebeam plugin, viewports left alone, and a Max seat for each person viewing markups in Revit. Everyone else can keep marking up in Bluebeam as usual.
Try it on one project first, and you'll quickly see how much time your team stops spending on "where exactly is this?" Get a 14-day free Max trial today to discover and evaluate how to get the most out of this new feature.
Explore Bluebeam Max to see everything it offers. We'd be happy to help you figure out whether Max is the right fit for your requirements, or guide you through the right upgrade paths and multi-user licensing.



 Brighter Graphics : Oct 6, 2026, 10:40:19 AM